One of the most common problems homeowners and renovators have is moisture in their concrete slabs. As home construction projects are DIY-ed instead of leaving the grunt work to the experts, inconveniences such as this arise. That leads to a pungent, musty smell that homeowners dislike.
If you see abnormal lumps on your floor after installation, that may be the result of a moisture problem. Thankfully, engineers, builders, designers, and architects know how to handle these unwanted moisture vapors—by using the right kind of moisture seal decking or mitigation system for their project.
Here’s everything you need to know about moisture mitigation to prevent moisture problems from happening.
Where Does the Moisture Come From?
Concrete is made up of five different elements: aggregate, cement, air, sand, and water. Water is essential because it helps with the chemical reaction between the other components and supports the workability and the placement of the concrete.
Concrete needs moisture to develop and maintain its durability, but an excess of it can create several expensive problems in your building. That includes structural stability problems and increased risk of mold and mildew.
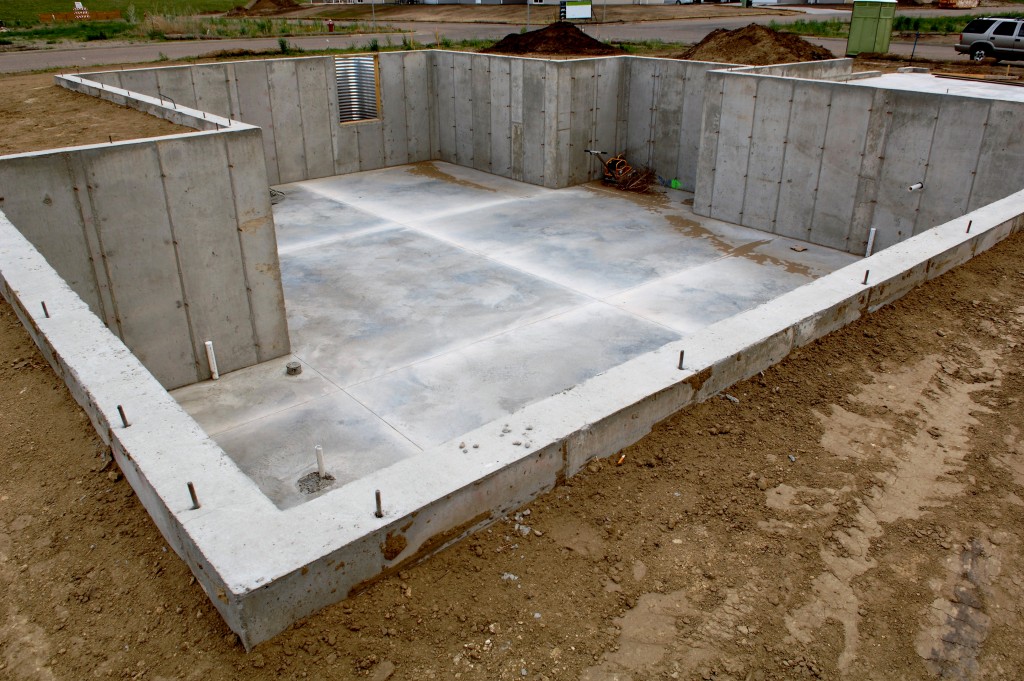
Moisture usually comes from two primary sources: free water from the concrete mix and from the earth beneath the slab. It can come from anywhere—below grade, earth, or water table.
What Is Moisture Mitigation?
The process of decreasing the negative impact of excess water on a concrete slab is known as moisture mitigation. This type of mitigation is commonly used within the commercial, industrial, and residential industries to help create barriers against moisture intrusion within their infrastructures.
In an age where construction projects are either DIY-ed or rushed, moisture-related problems have inevitably been rising. Moisture on your flooring can lead to a wide array of issues that can diminish its life span. Some of these problems include foul odors and adhesive failure and even leave cracks on the floor.

How to Test for Moisture in Your Concrete Slab
Before the construction process, make sure you’re well-acquainted with the moisture issues that could arise among them. Be sure to have a moisture mitigation system in place. Pour the slab and test it to determine the level of water vapor. If it is low enough, you can proceed with the flooring installation.
Two kinds of tests determine the level of moisture on the slab. One test measures the volume of water vapor coming out from the slab over a specified period. The calcium chloride test has to be in place for 60 to 72 hours to achieve accurate results.
The second one is the relative humidity (RH) test. To accurately measure the amount of moisture, this test makes use of drilling holes onto the slab and inserting sensors into them. The results then predict what the moisture condition will be after a coating or covering has been applied.
Talk to your flooring installer before proceeding with the project to ensure everything has been covered. If you’re doing the renovation yourself, read about installation methods and moisture issues. Check for moisture mitigation systems beforehand to prevent unwanted moisture-related problems in the future.